 English
 French
Hydraulic Breaker Tool Bit Replacement: Mastering Uptime
The first time I watched a seasoned operator swap out a worn chisel in under ten minutes, I realized how much of breaker productivity comes down to knowing your tool bits. That quick changeover kept the whole crew moving, and it stuck with me. Getting tool bit replacement right—choosing the correct profile, recognizing wear patterns early, and following a clean installation sequence—directly shapes how much work a hydraulic breaker can deliver before something else needs attention.
How Wear and Failure Actually Happen in Hydraulic Breaker Tool Bits
Hydraulic breaker tool bits absorb punishing forces every working hour. The wear patterns that develop tell a story about what the bit has been through. Blunting shows up when the tip loses its edge against abrasive material. Mushrooming spreads the striking end outward, usually from repeated impacts at slight angles. Chipping and spalling reveal brittleness or fatigue cracks propagating through the steel. Each pattern points to a combination of material stress, operational habits, and sometimes manufacturing inconsistencies.
Operational choices shorten tool bit life faster than most people expect. Working at the wrong angle concentrates stress on one side of the shank. Blank firing—running the breaker without contact—generates heat spikes that weaken the steel’s microstructure. Excessive side loading bends the bit incrementally until it binds in the housing. Hammering the same spot too long overheats the tip. A breaker point replacement might come weeks early if the operator consistently forces downward pressure beyond what the application requires.
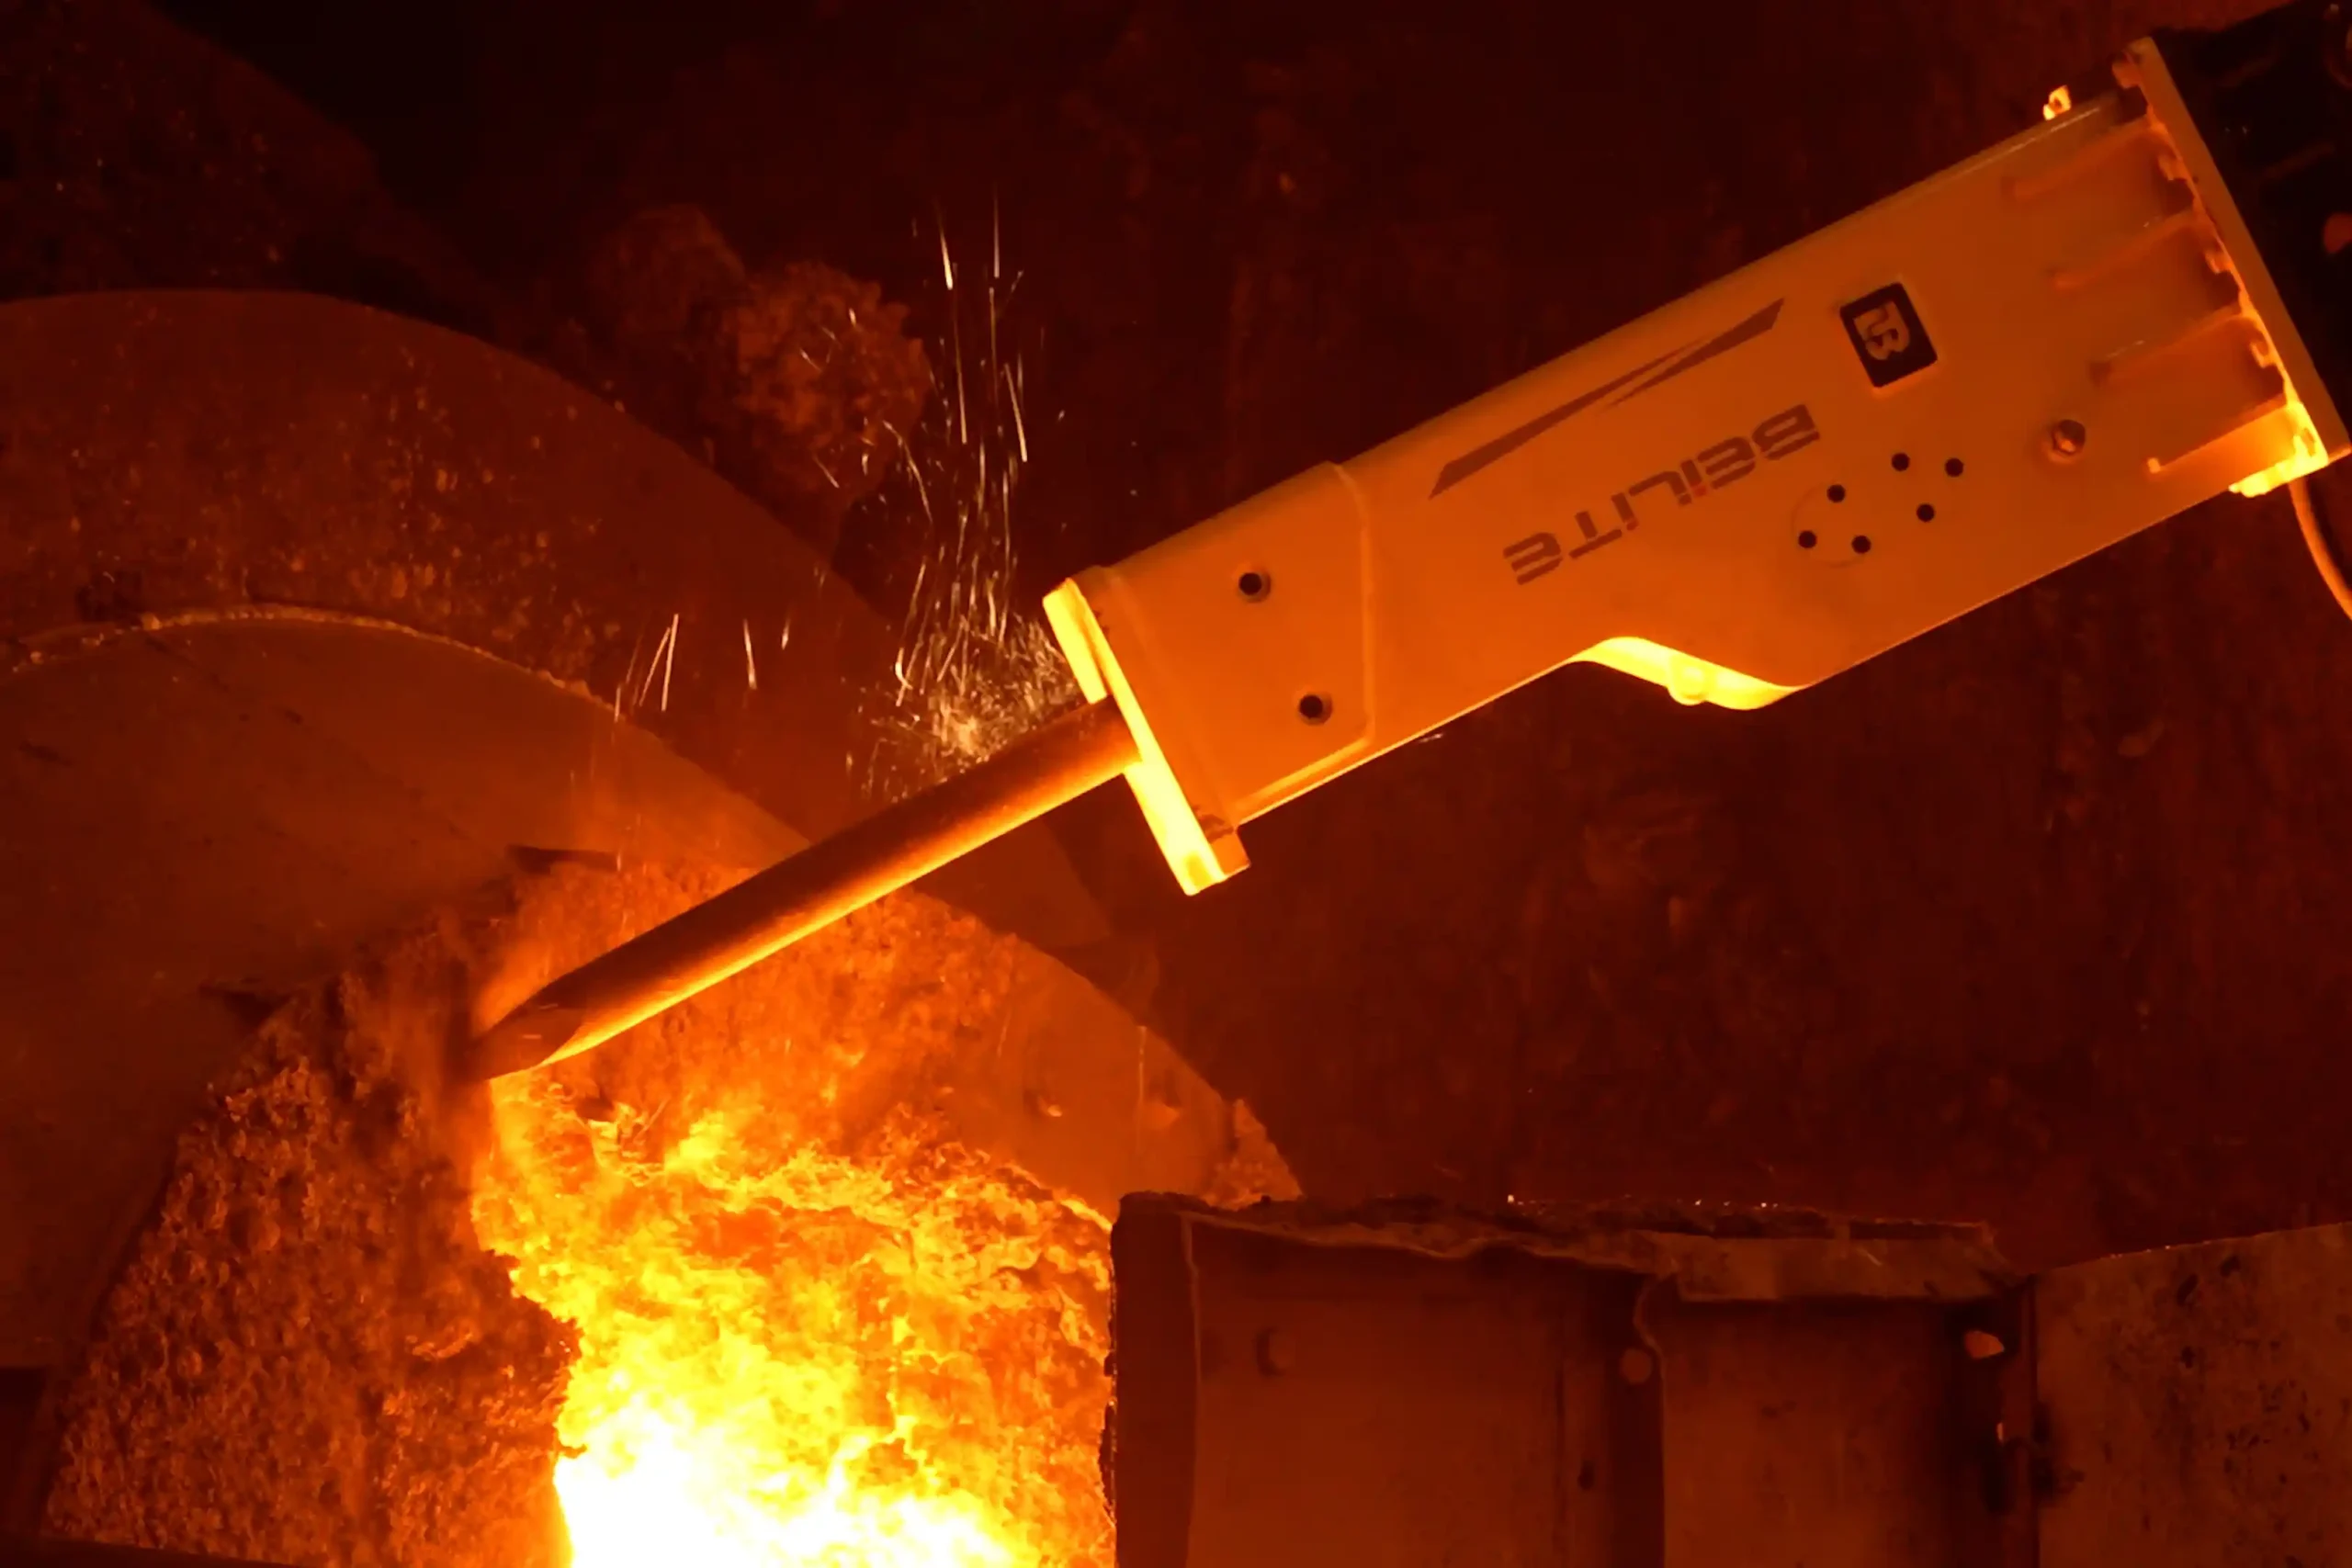
Material composition determines how long a tool bit resists these conditions. High-quality bits use specialized steel alloys with controlled carbon content and refined microstructures. The balance between hardness and toughness matters: too hard and the bit chips, too soft and it deforms. Beilite’s proprietary heat treatment processes target that balance, producing hydraulic hammer chisel types that handle both abrasive wear and impact fatigue. Catching early signs of wear—surface cracks, excessive material loss at the tip—prevents the kind of failure that damages internal breaker components.
| Factor | Impact on Lifespan | Description |
|---|---|---|
| Material Hardness | High | Optimized hardness resists abrasion and deformation. |
| Operational Angle | High | Incorrect angles cause uneven wear and bending stress. |
| Blank Firing | Severe | Generates excessive heat and shock, leading to rapid fatigue. |
| Lubrication | High | Reduces friction and heat, protecting the tool bit and bushings. |
| Material Abrasiveness | High | Abrasive materials accelerate wear, requiring more frequent inspection. |
| Tool Bit Type | Moderate | Matching the tool bit to the application optimizes performance and lifespan. |
Matching Tool Bit Geometry to the Job
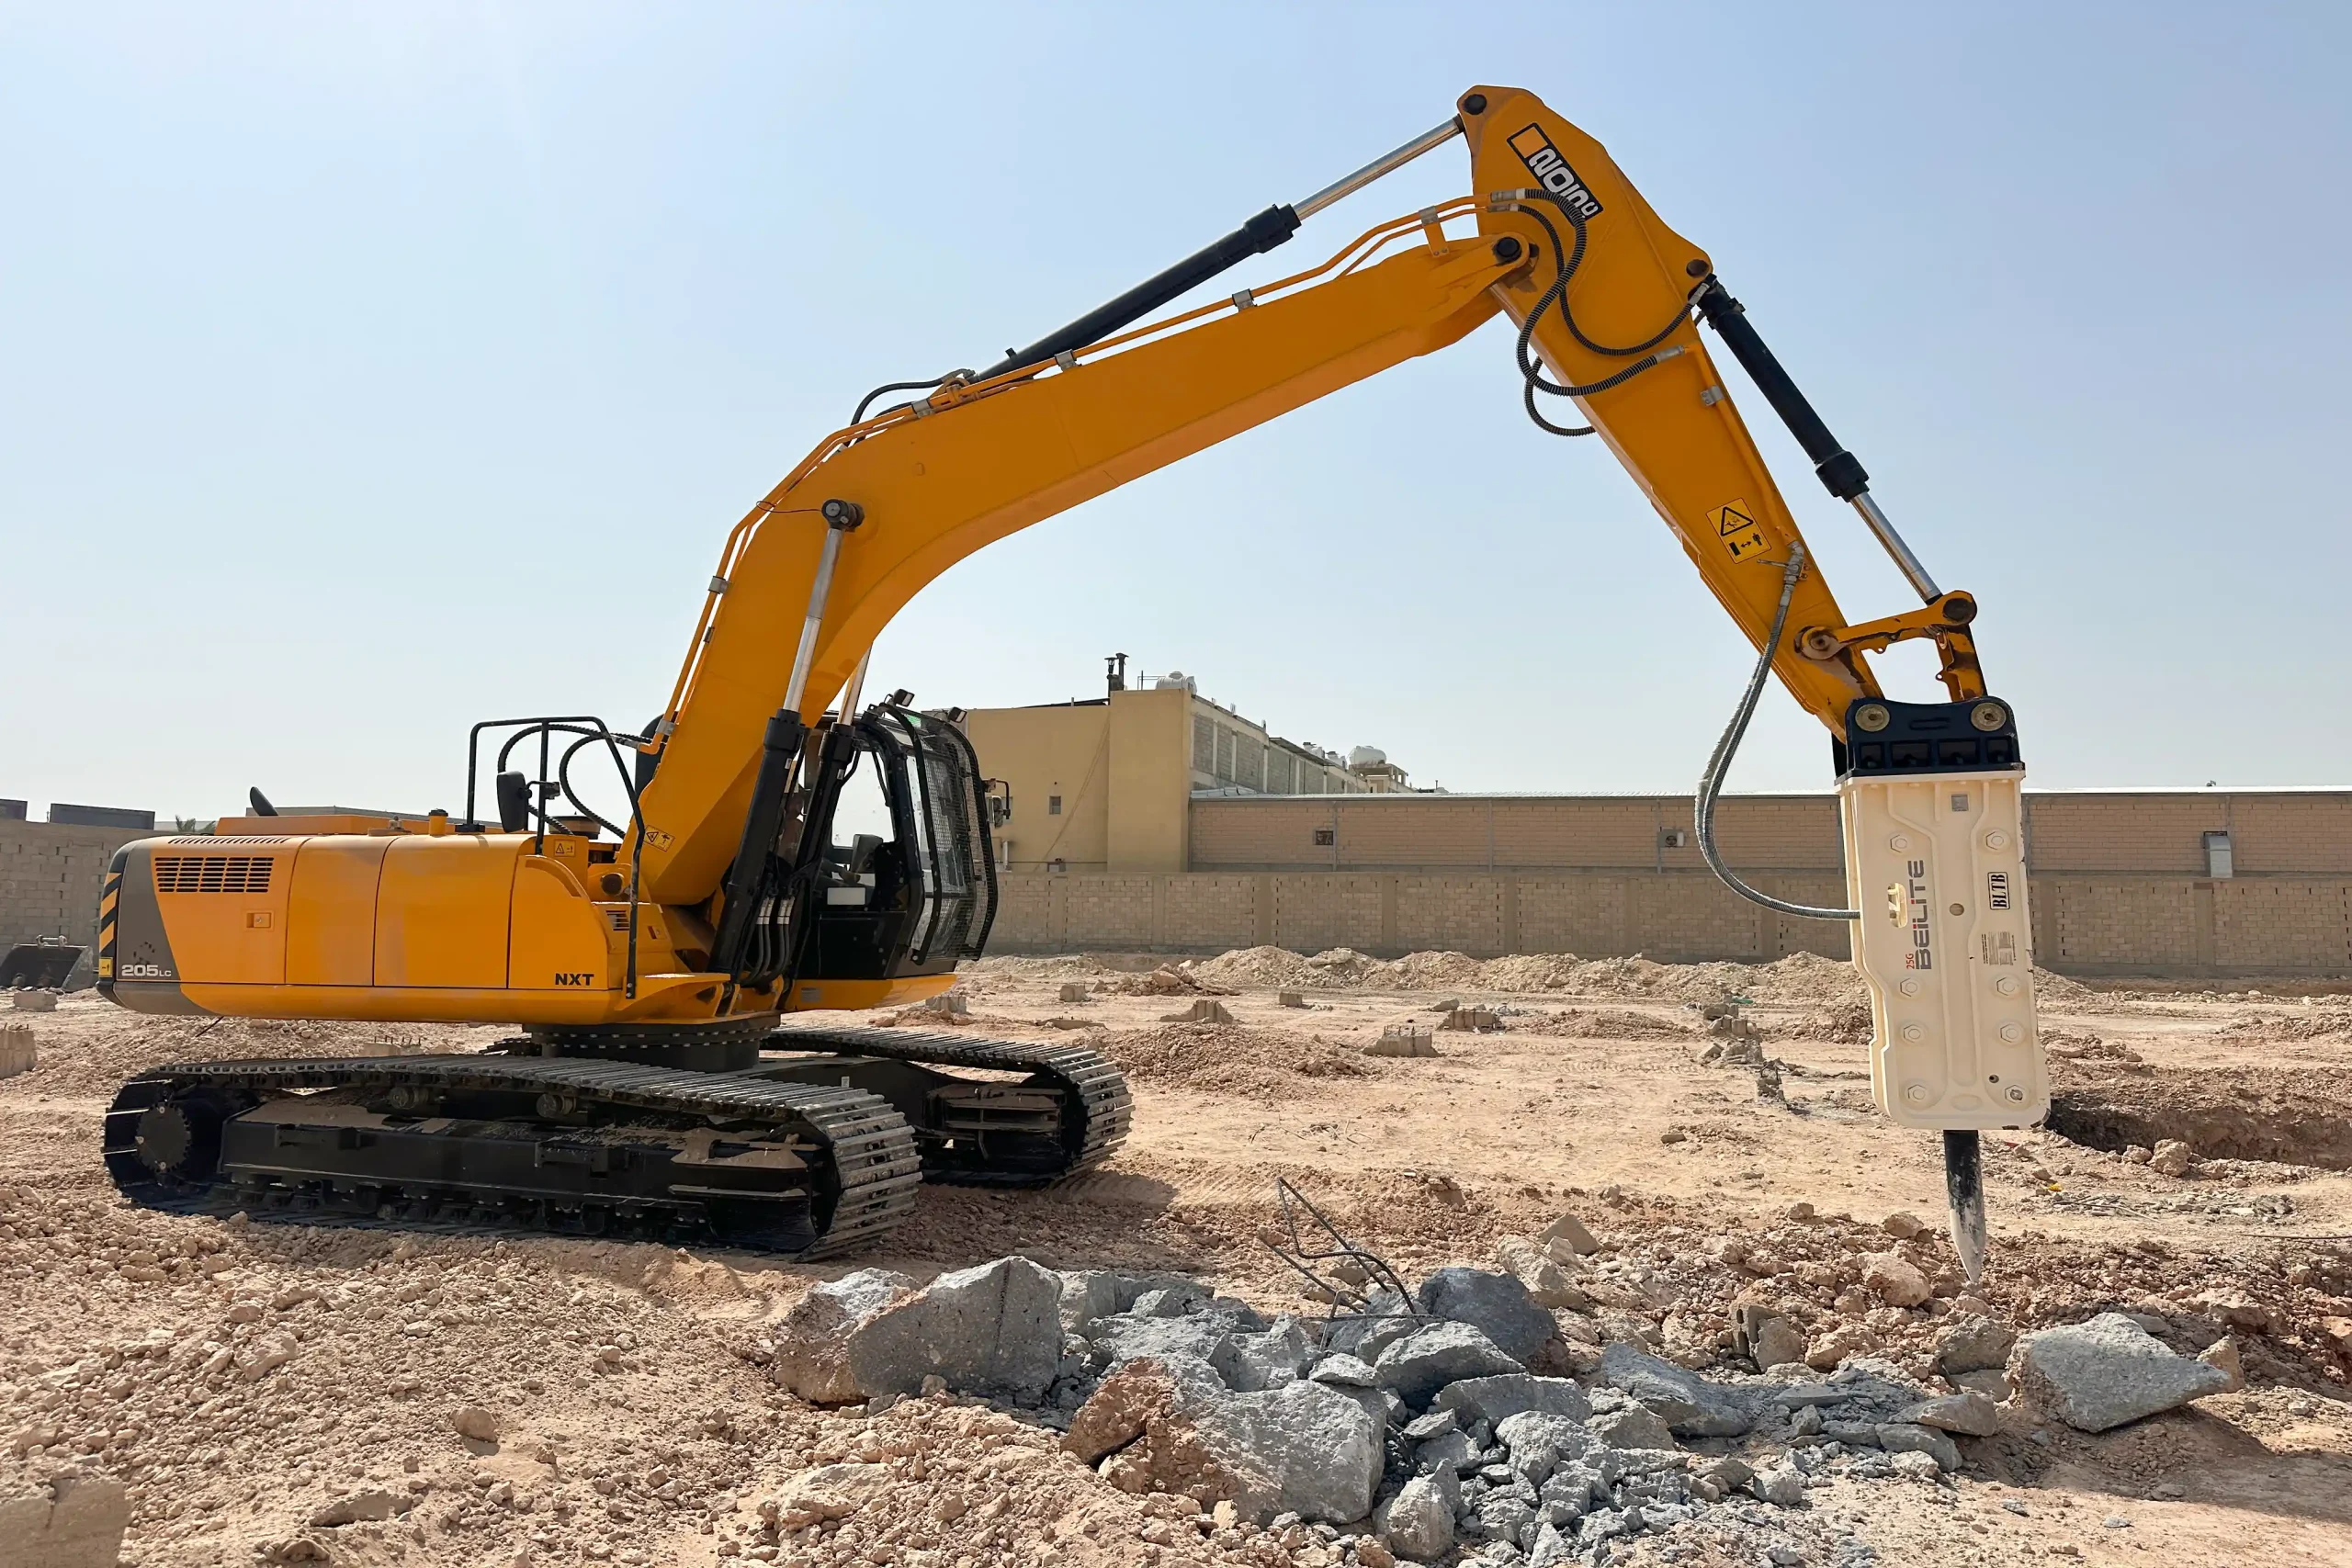
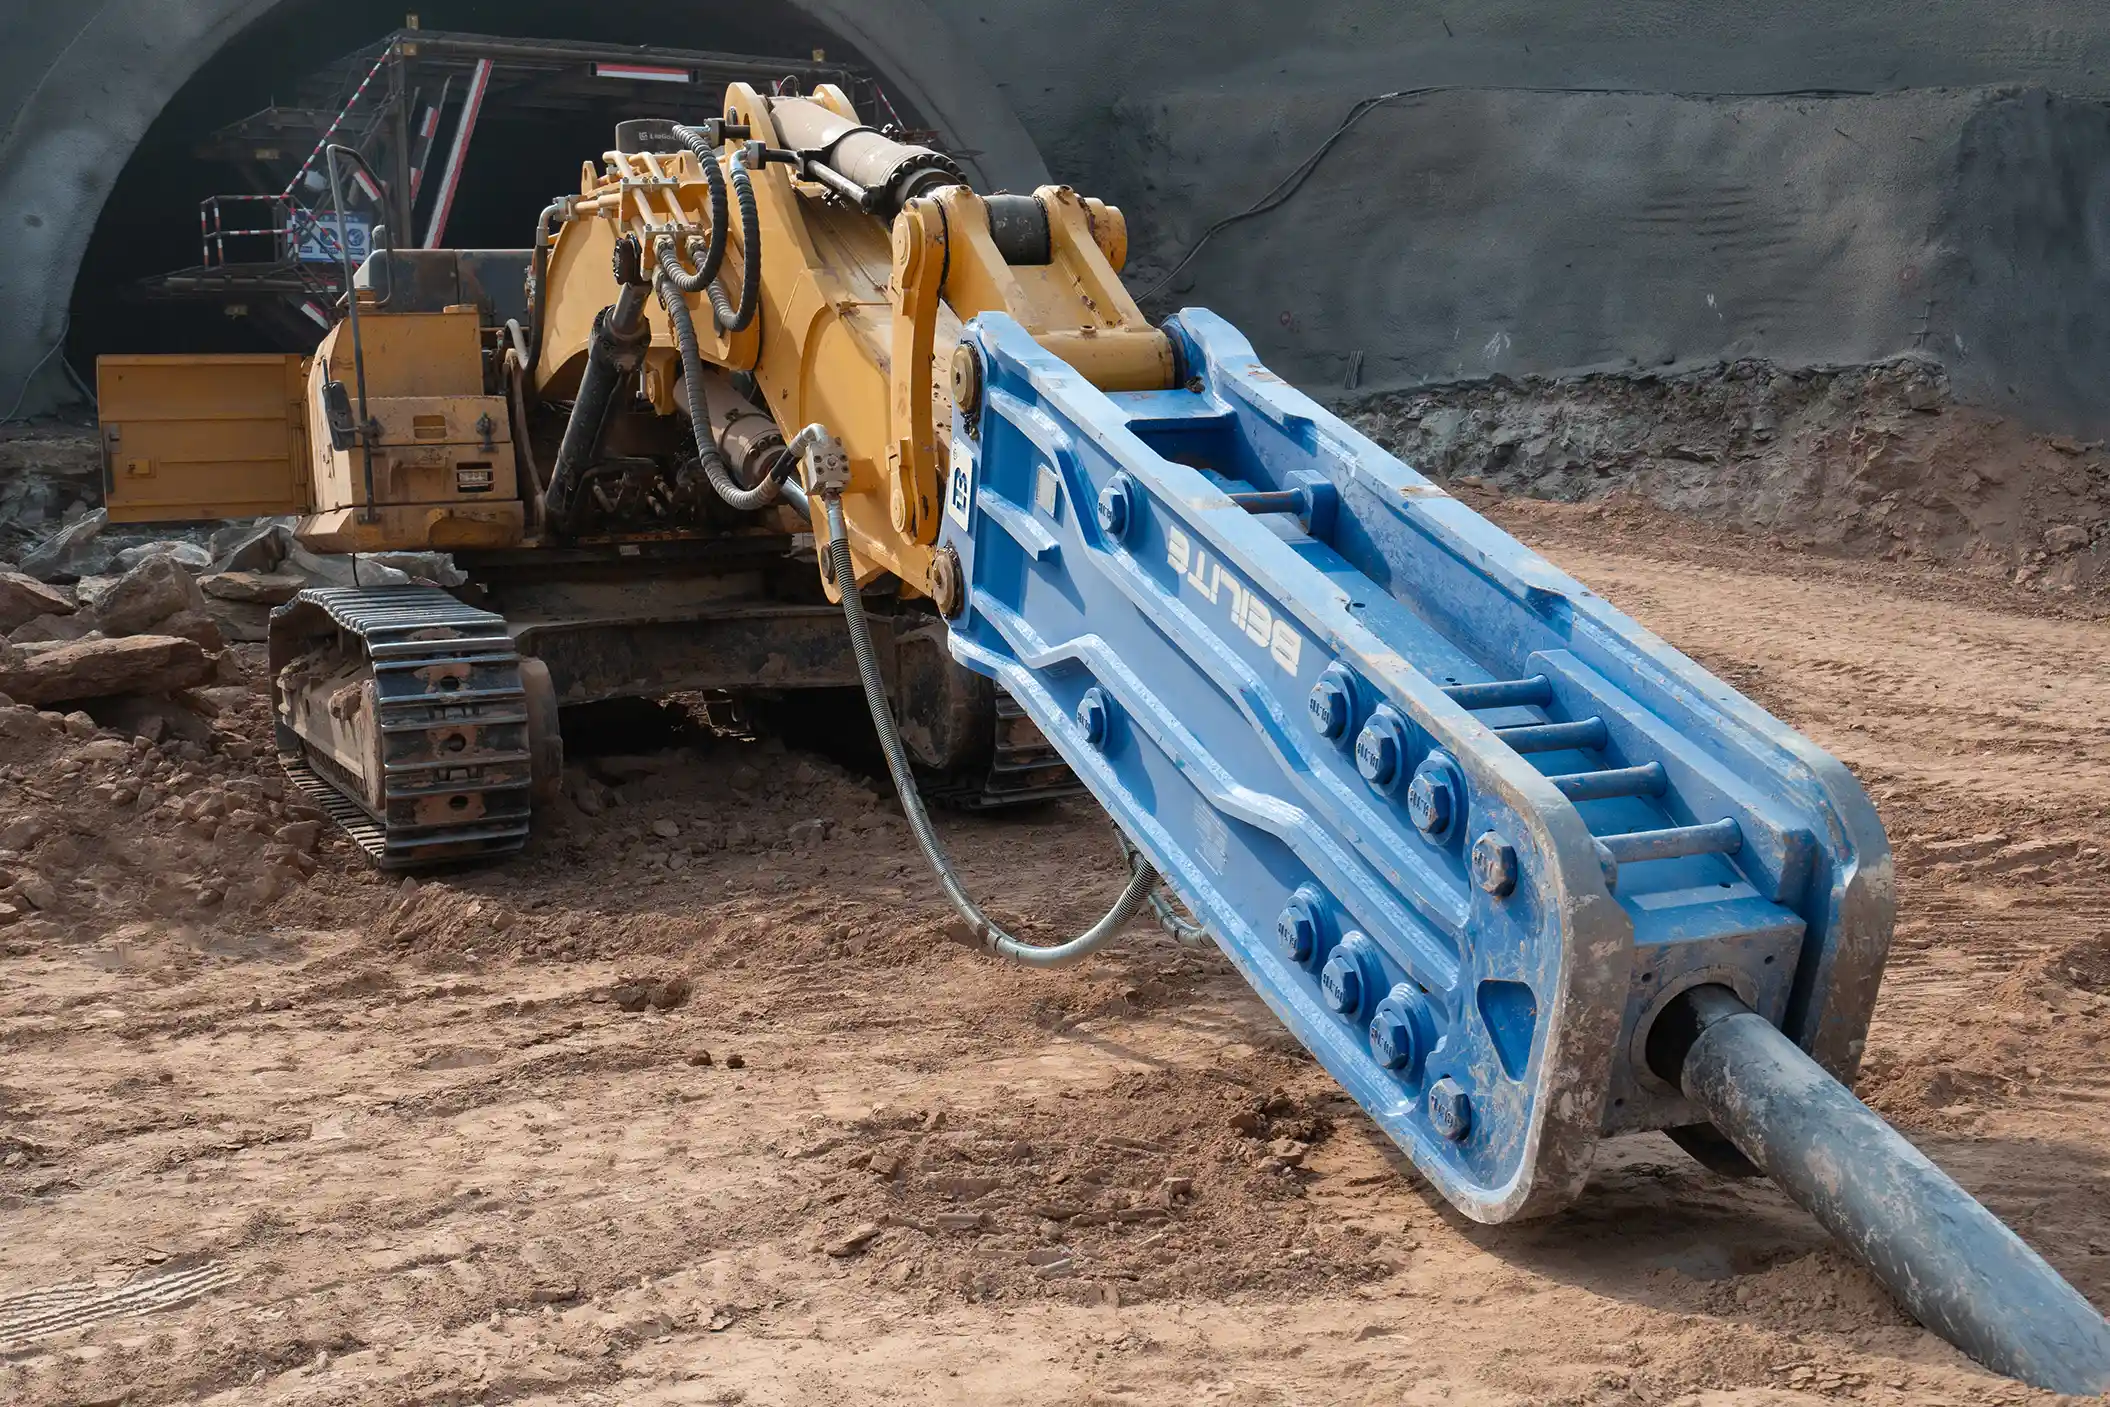
Selecting the right tool bit shape changes how efficiently a hydraulic breaker works through material. The geometry concentrates or distributes impact energy, and mismatches lead to wasted fuel, slower progress, and accelerated wear. Beilite’s BLT and BLTB product lines cover the range of profiles needed for different breaking conditions.
A moil point chisel focuses impact into a narrow tip, making it effective for penetrating concrete or softer rock. The concentrated force drives the bit into the material before fractures spread outward. For harder, more abrasive rock, a pyramid chisel provides better penetration resistance and prevents the bit from skating across the surface. The angled faces grip the material and direct energy downward. A blunt tool bit works differently—it spreads impact across a wider area, creating fractures in large boulders or thick concrete slabs rather than punching through.
| Tool Bit Shape | Primary Application | Characteristics |
|---|---|---|
| Moil Point | Concrete, soft rock, general breaking | Concentrated impact, good for penetration. |
| Pyramid | Hard rock, reinforced concrete | Enhanced breaking power, prevents slipping, deep penetration. |
| Chisel | Demolition, trenching, asphalt | Effective for cutting and prying, good for layered materials. |
| Blunt | Boulder breaking, secondary breaking | High crushing force, ideal for large, dense materials. |
The steel alloy behind the shape matters just as much. Beilite’s tool bits use high-strength alloy steel engineered for wear resistance and toughness in demanding environments, whether for Hydraulic Breaker Hammer for Mining and Quarrying or Hydraulic Breaker Hammer for Demolition&Rock Breaking. The BLT-100, with its 100 mm rod diameter, handles heavy-duty applications on 10-14 ton excavators. The BLT-40, at 40 mm, fits 0.5-1.2 ton mini excavators for more precise work.
Using the wrong tool bit drags down productivity. Breaking efficiency drops, fuel consumption climbs, and both the bit and the breaker’s internal components wear faster. Checking the manufacturer’s recommendations and considering the specific material properties before selecting a hydraulic breaker chisel saves time and money over the life of the equipment.
Step-by-Step Tool Bit Replacement Procedure
Replacing a hydraulic breaker tool bit correctly protects both the equipment and the person doing the work. Rushing through the process or skipping steps leads to problems that show up later—improper seating, premature wear, or worse.
Preparing the Machine and Work Area
Start by positioning the excavator on stable, level ground. Engage the parking brake and lower the hydraulic breaker so it rests on the ground. Relieve residual hydraulic pressure in the system before touching any components. Wear safety glasses, gloves, and steel-toed boots. Clear the area of other personnel and obstructions. Confirm the replacement tool bit matches the breaker model and the intended application.
Removing the Old Bit and Installing the New One
- Remove Retaining Pins: Use a chisel pin removal tool to extract the two retaining pins holding the tool bit in place.
- Extract Worn Tool Bit: Lower the breaker enough to let the worn bit slide out. If it binds, pry it free gently.
- Inspect and Clean: Clean the tool bit housing thoroughly. Examine the upper and lower bushings for wear or damage and replace them if needed.
- Lubricate New Tool Bit: Apply specialized grease generously to the shank of the new tool bit. This lubrication reduces friction and heat during operation.
- Insert New Tool Bit: Slide the lubricated bit into the housing, aligning it with the pinholes.
- Reinsert Retaining Pins: Push the retaining pins through the housing and tool bit, then secure them with their locking mechanisms.
- Functional Check: Run the breaker briefly at low power to confirm proper installation. Listen for unusual noises and watch for abnormal movement.
- Final Inspection: Visually confirm all components are secure and no leaks have developed.
Using genuine Beilite parts for replacement ensures compatibility and maintains the performance the breaker was designed to deliver.
Extending Tool Bit Service Life Through Better Practices
Getting more hours out of each tool bit comes down to consistent maintenance and disciplined operating habits. Small adjustments add up over weeks and months of heavy use.
Lubrication ranks near the top of the list. Following the recommended schedule keeps friction and heat buildup low at the tool bit shank and bushings. High-quality grease designed for hydraulic breakers performs better than general-purpose alternatives. Skipping lubrication accelerates wear on both the bit and the bushings that guide it.
Operating technique shapes tool bit longevity more than most operators realize. Blank firing generates heat and shock that fatigue the steel rapidly. Maintaining a perpendicular angle to the breaking surface distributes impact evenly and prevents the side loading that bends bits over time. Steady, appropriate downward pressure works better than forcing the breaker harder—excessive force causes binding and bending.
Regular inspection catches problems before they escalate. Look for blunting, surface cracks, and mushrooming at the tip. Minor chisel regrinding can restore a worn edge, but only if the original profile and heat treatment integrity are preserved. Monitoring hydraulic oil quality matters too; contaminated or degraded oil affects breaker performance and can accelerate component wear.
| Maintenance Task | Frequency | Benefit |
|---|---|---|
| Tool Bit Lubrication | Daily | Reduces friction, heat, and prevents premature wear. |
| Visual Inspection | Daily | Identifies early signs of wear, cracks, or damage. |
| Bushing Inspection | Weekly | Ensures proper fit and prevents excessive play. |
| Hydraulic Oil Check | Weekly | Maintains system efficiency and prevents contamination. |
| Chisel Regrinding | As needed | Restores cutting edge, extending tool bit service life. |
| Nitrogen Pressure Check | Monthly | Ensures optimal impact energy and prevents internal damage. |
Checking breaker operating pressure and adjusting it to manufacturer specifications keeps the system within its optimal range, contributing to overall impact tool service life.
Diagnosing Common Tool Bit and Breaker Problems
When something goes wrong with a hydraulic breaker, the symptoms usually point toward a limited set of causes. Identifying the root issue quickly prevents downtime from stretching longer than necessary.
Rapid tool bit wear often traces back to operational factors. Incorrect angles, insufficient lubrication, or using a bit unsuitable for the material all accelerate wear. If the tip blunts faster than expected, review how the breaker is being used and whether the tool bit type matches the application. Excessive mushrooming at the tip suggests either a bit that’s too soft for the material or too much impact force on hard surfaces.
Reduced impact energy from the hydraulic breaker points to pressure issues or internal wear. Low hydraulic pressure, incorrect nitrogen gas charge in the accumulator or rear head, or worn internal components can all reduce striking force. Check hydraulic system pressure and nitrogen charge first. If those readings fall within specifications, the problem likely involves internal piston wear or degraded seals, which require professional inspection.
A chisel sticking in the breaker housing usually results from excessive wear on the tool bit shank or bushings, or debris that has worked its way into the housing. Thorough cleaning and bushing inspection are the first steps. Worn bushings need replacement to restore proper tool bit movement and prevent further damage. If hydraulic fluid leaks appear, a seal kit replacement for the hydraulic breaker may be necessary to restore performance.
| Symptom | Possible Cause | Recommended Solution |
|---|---|---|
| Rapid Tool Bit Wear | Incorrect operating angle, insufficient lubrication, wrong tool bit type | Adjust operating technique, increase lubrication frequency, select appropriate tool bit. |
| Reduced Impact Energy | Low hydraulic pressure, incorrect nitrogen pressure, internal wear | Check hydraulic and nitrogen pressures, inspect internal components. |
| Chisel Sticking | Worn bushings, debris in housing | Clean housing, inspect and replace worn bushings. |
| Excessive Noise/Vibration | Loose components, internal wear, improper lubrication | Tighten connections, inspect for internal damage, ensure proper lubrication. |
| Hydraulic Fluid Leaks | Worn seals, loose fittings | Inspect and replace seal kit, tighten all hydraulic connections. |
Partner with Beilite for Unmatched Breaker Performance
Beilite Machinery Co., LTD. engineers hydraulic breakers and genuine tool bits for peak performance in demanding conditions. As a national high-tech enterprise with decades of innovation and hundreds of patents, the BLT and BLTB brands are exported globally and built to define industry standards. Contact the team at [email protected] or call 40008-40008 for consultation on optimizing your hydraulic breaker fleet.
Frequently Asked Questions About Hydraulic Breaker Tool Bit Replacement
How often should hydraulic breaker tool bits be replaced?
Replacement intervals vary based on the material being broken, the application type, and how the breaker is operated. Hard, abrasive materials and improper angles accelerate wear significantly. Daily visual inspection for wear, cracks, and deformation provides the best guidance. Following manufacturer recommendations and adjusting based on observed conditions keeps tool bits in service as long as safely possible.
What are the signs of a worn hydraulic breaker chisel?
Blunting at the tip, mushrooming of the striking end, visible cracks, and excessive pitting all indicate wear. A tip that has shortened noticeably or deformed from its original profile needs replacement. Reduced breaking efficiency—taking longer to penetrate the same material—also signals that the tool bit has reached the end of its useful life. Replacing worn bits promptly prevents damage to the breaker’s internal components.
What is the correct procedure for replacing a hydraulic breaker tool bit?
The hydraulic breaker tool bit installation steps begin with positioning the excavator safely and depressurizing the hydraulic system. Remove the retaining pins, extract the old tool bit, and clean the bushing area thoroughly. Lubricate the shank of the new tool bit, insert it into the housing, and reinstall the retaining pins. Run a brief functional check at low power before returning to full operation. Always follow the specific manual for your breaker model and observe safety protocols throughout the process.