 English
 French
How to Install a Hydraulic Breaker: A Technical Guide for Operators
Getting a hydraulic breaker mounted correctly matters more than most operators realize until something goes wrong. A loose pin, mismatched flow settings, or overlooked nitrogen pressure can turn a straightforward demolition job into hours of troubleshooting. This guide walks through the full installation sequence, from carrier inspection through hydraulic tuning and post-mount verification, based on procedures that hold up across real jobsite conditions.
Pre-Installation Checks That Actually Prevent Problems
Skipping the preliminary inspection is where most installation headaches begin. The carrier itself needs attention first, particularly the boom and stick connection points where the hydraulic breaker will attach. Structural cracks or fatigue in these areas create safety risks and accelerate wear on both the breaker and the excavator.
Match the excavator’s auxiliary hydraulic specifications against the breaker’s requirements before anything gets connected. A BEILITE BLT-100 hydraulic breaker Hammer needs 80–110 L/min working oil flow and 150–170 bar working pressure. Running outside these parameters either starves the breaker of power or overloads the system. The mounting bracket should be checked for cracks or warping, and pins and bushings need inspection for wear that could allow play in the connection.
Hydraulic hose compatibility often gets overlooked. Diameter and pressure ratings must align with the breaker specifications. The BLT-100 requires 3/4 inch oil pipe diameter. Using undersized hoses restricts flow and generates heat that degrades seals over time.
| Pre-Installation Checklist | Status | Notes |
|---|---|---|
| Excavator Carrier Inspection | Completed | Check boom/stick for damage |
| Hydraulic System Compatibility | Verified | Match flow/pressure to breaker specs |
| Mounting Bracket Integrity | Checked | Ensure no cracks or deformation |
| Pin and Bushing Condition | Inspected | Verify wear and proper fit |
| Hydraulic Hose Specifications | Confirmed | Correct diameter and pressure rating |
| Personal Protective Equipment | Worn | Hard hat, safety glasses, gloves, boots |

Physical Attachment Sequence
The mechanical connection between breaker and carrier follows a specific order that prevents alignment problems. Position the excavator on stable, level ground with the boom lowered. This keeps the attachment points accessible and reduces the risk of the breaker shifting during pin installation.
Align the hydraulic breaker’s mounting bracket with the stick end. The upper mounting pins go in first. They should slide in without excessive force. If resistance occurs, the alignment needs adjustment rather than hammering the pins into place. Secure these pins with their locking mechanisms before moving to the lower connection.
Raise the breaker slightly to bring the lower mounting holes into alignment. Insert and secure the lower pins. For excavators with quick coupler systems, engage the coupler and verify the lock engages fully around the breaker’s attachment points. Any looseness or play in the pin connections indicates a problem that needs correction before hydraulic hookup.
Smaller carriers benefit from purpose-built attachments. The Hydraulic Breaker Hammer for Mini Compact Excavator line addresses the specific mounting and flow requirements of compact machines.
Hydraulic System Configuration
The hydraulic connection determines whether the breaker performs to specification or struggles through every strike. Connect the pressure line (P) and return line (T) to their corresponding ports. Reversing these connections damages internal components. Tighten all fittings to manufacturer torque values. Under-tightened connections leak. Over-tightened connections crack fittings or damage threads.
Flow and pressure settings require adjustment through the excavator’s control system. A BLT-155 hydraulic breaker operates at 180–240 L/min oil flow and 200–220 bar working pressure, with an overflow valve set at 250 bar. These numbers exist for reasons rooted in the breaker’s internal valve timing and piston dynamics. Running too much pressure accelerates seal wear. Insufficient flow reduces striking frequency.
The pressure relief valve on the excavator’s auxiliary circuit needs verification against the breaker’s maximum allowable pressure. This valve protects both the breaker and the carrier’s hydraulic system from damage during high-resistance strikes.

Testing and Addressing Common Problems
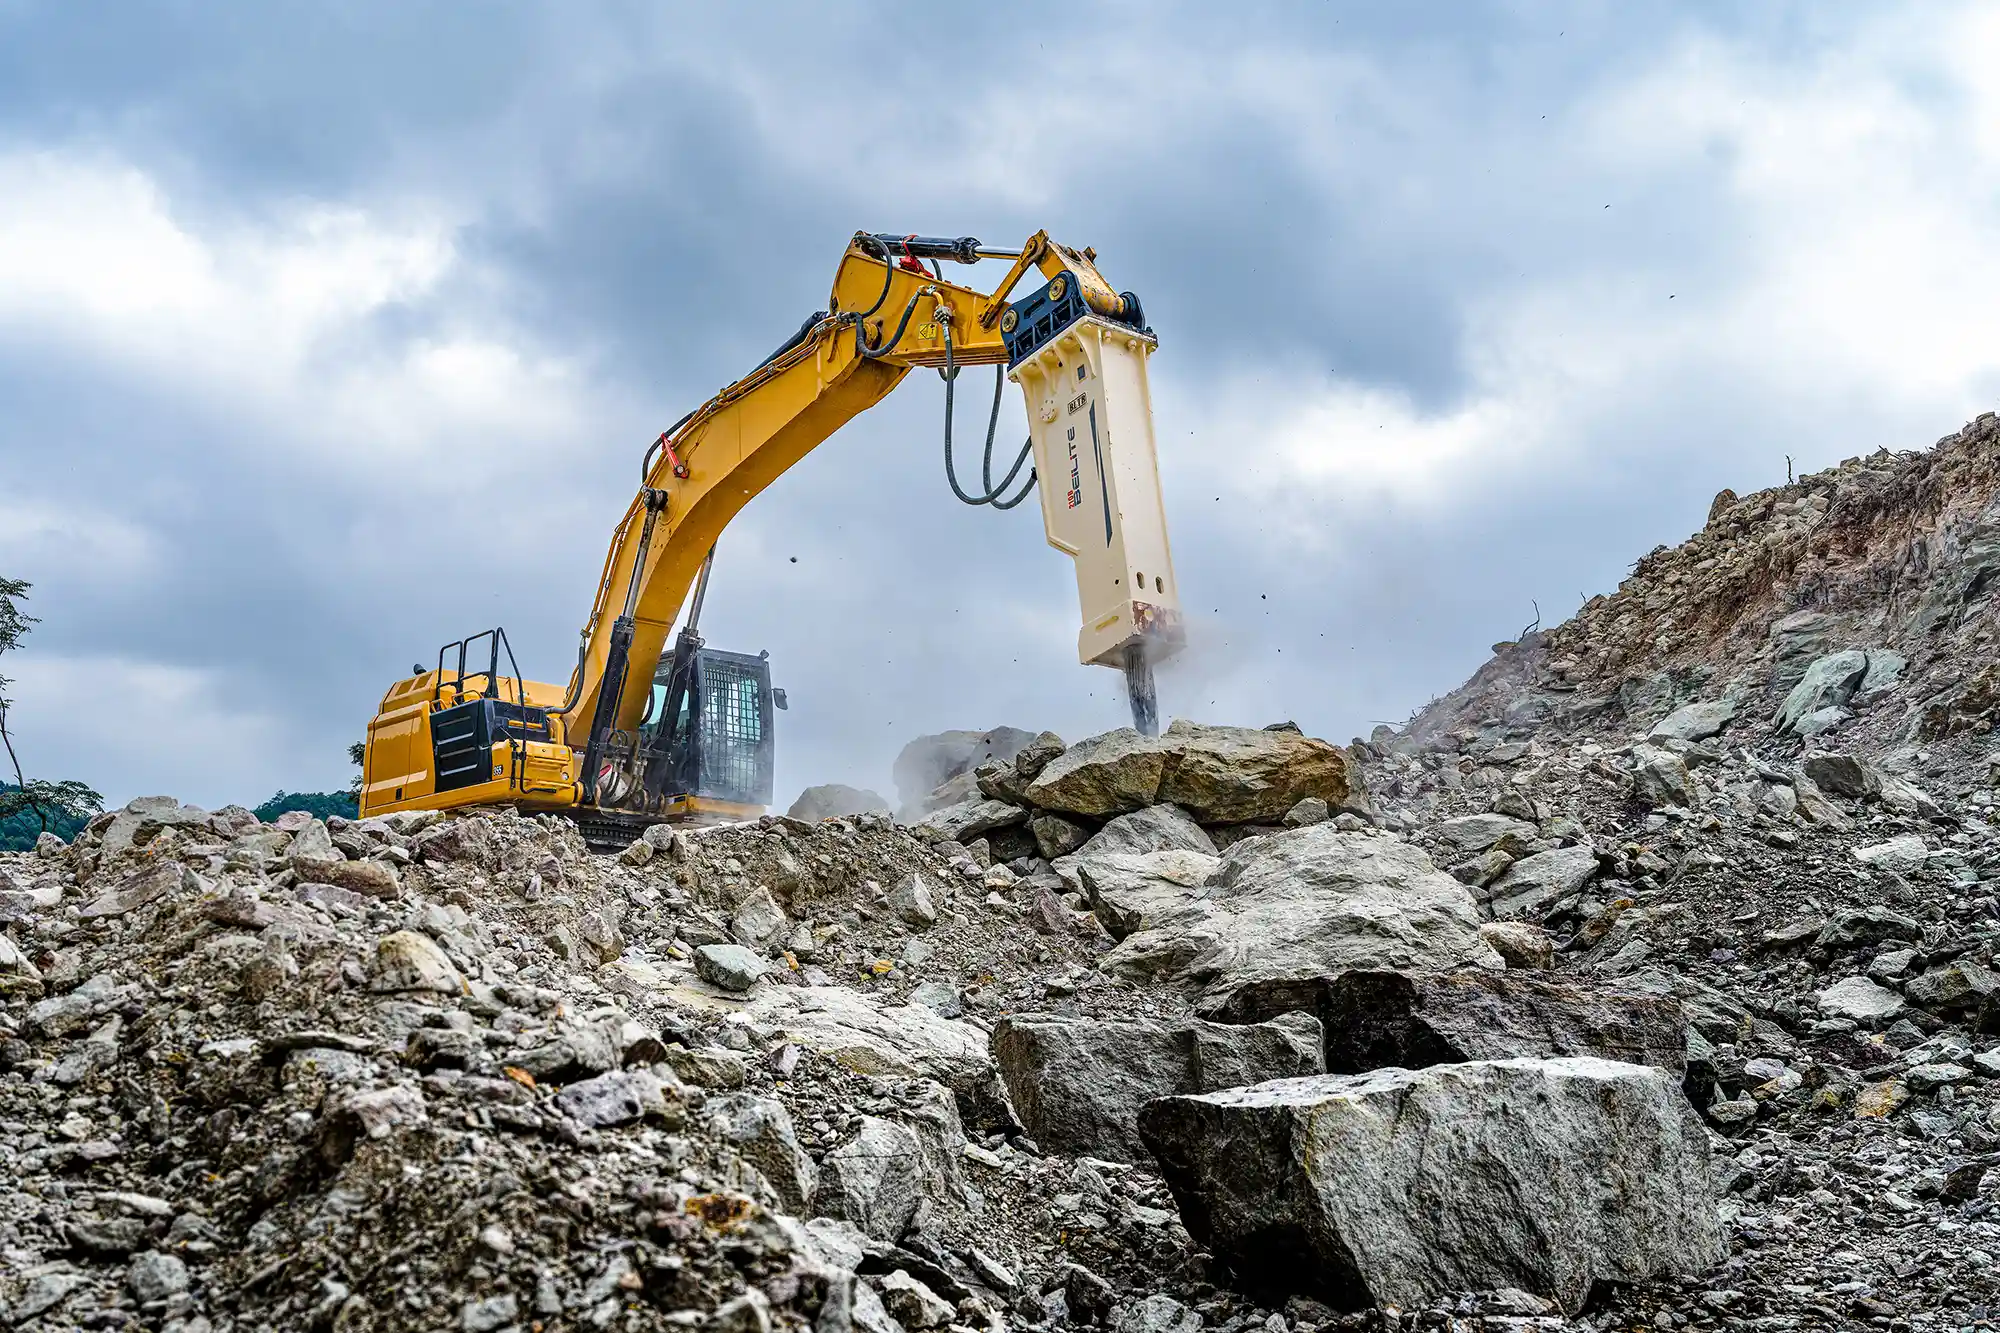
Initial operation should proceed gradually. Start the Hydraulic Breaker Hammer for Demolition&Rock Breaking at low throttle and increase power incrementally while monitoring performance. Abnormal sounds, vibration patterns, or visible leaks indicate problems that need resolution before full-power operation.
Watch the tool bit movement. It should engage material cleanly without hesitation or irregular cycling. Insufficient breaking power typically traces back to hydraulic settings that don’t match the breaker’s specifications. Leaks usually mean loose fittings or seals that were damaged during installation.
When a breaker fails to strike at all, nitrogen pressure becomes the primary suspect. The BLT-155 requires 17–20 bar in the rear cylinder and 55–60 bar in the accumulator. Low nitrogen pressure prevents proper energy storage and release during the strike cycle. The main valve should also be inspected for debris that could obstruct flow.
Application-specific guidance for demanding environments appears in the article on Hydraulic Breaker Hammer for Mining and Quarrying.
| Common Hydraulic Breaker Issues | Potential Causes | Solutions |
|---|---|---|
| Insufficient Breaking Power | Incorrect hydraulic pressure/flow | Adjust settings to manufacturer specifications |
| Hydraulic Leaks | Loose fittings, damaged seals | Tighten connections, replace worn seals |
| Breaker Fails to Strike | Low nitrogen pressure, main valve obstruction | Check nitrogen charge, inspect/clean main valve |
| Excessive Vibration | Worn tool bit, improper mounting | Replace tool bit, re-check mounting pins |
Maintenance That Extends Service Life
The difference between a hydraulic breaker that lasts and one that fails prematurely comes down to consistent maintenance habits. Daily tool bit lubrication reduces friction between the tool and breaker housing. The grease needs to be formulated specifically for hydraulic breaker applications. General-purpose lubricants break down under the heat and pressure these tools generate.
Tool bit inspection should happen regularly. Wear, cracks, or chipping reduce impact efficiency and can damage internal components. Replacement timing depends on material hardness and operating hours, but visible damage means immediate replacement.
Hydraulic hose connections need monthly or bi-weekly checks for tightness and wear. Hoses that show surface cracking, abrasion, or bulging are approaching failure. Nitrogen pressure verification at recommended intervals maintains consistent striking force. The accumulator and rear cylinder pressures affect energy storage and release timing.
Annual comprehensive service, including seal replacement and internal component inspection, catches wear before it causes failures. The BEILITE maintenance guide specifies intervals based on operating hours for different breaker models.
Consistent attention to these maintenance points keeps a hydraulic breaker Hammer operating at full efficiency throughout its service life.
BEILITE Manufacturing Background
BEILITE Machinery Co., Ltd. has operated since 2002 as a national high-tech enterprise focused on hydraulic breaker research, development, and manufacturing. The company holds hundreds of patents and participated in formulating national standards for hydraulic breakers in China.
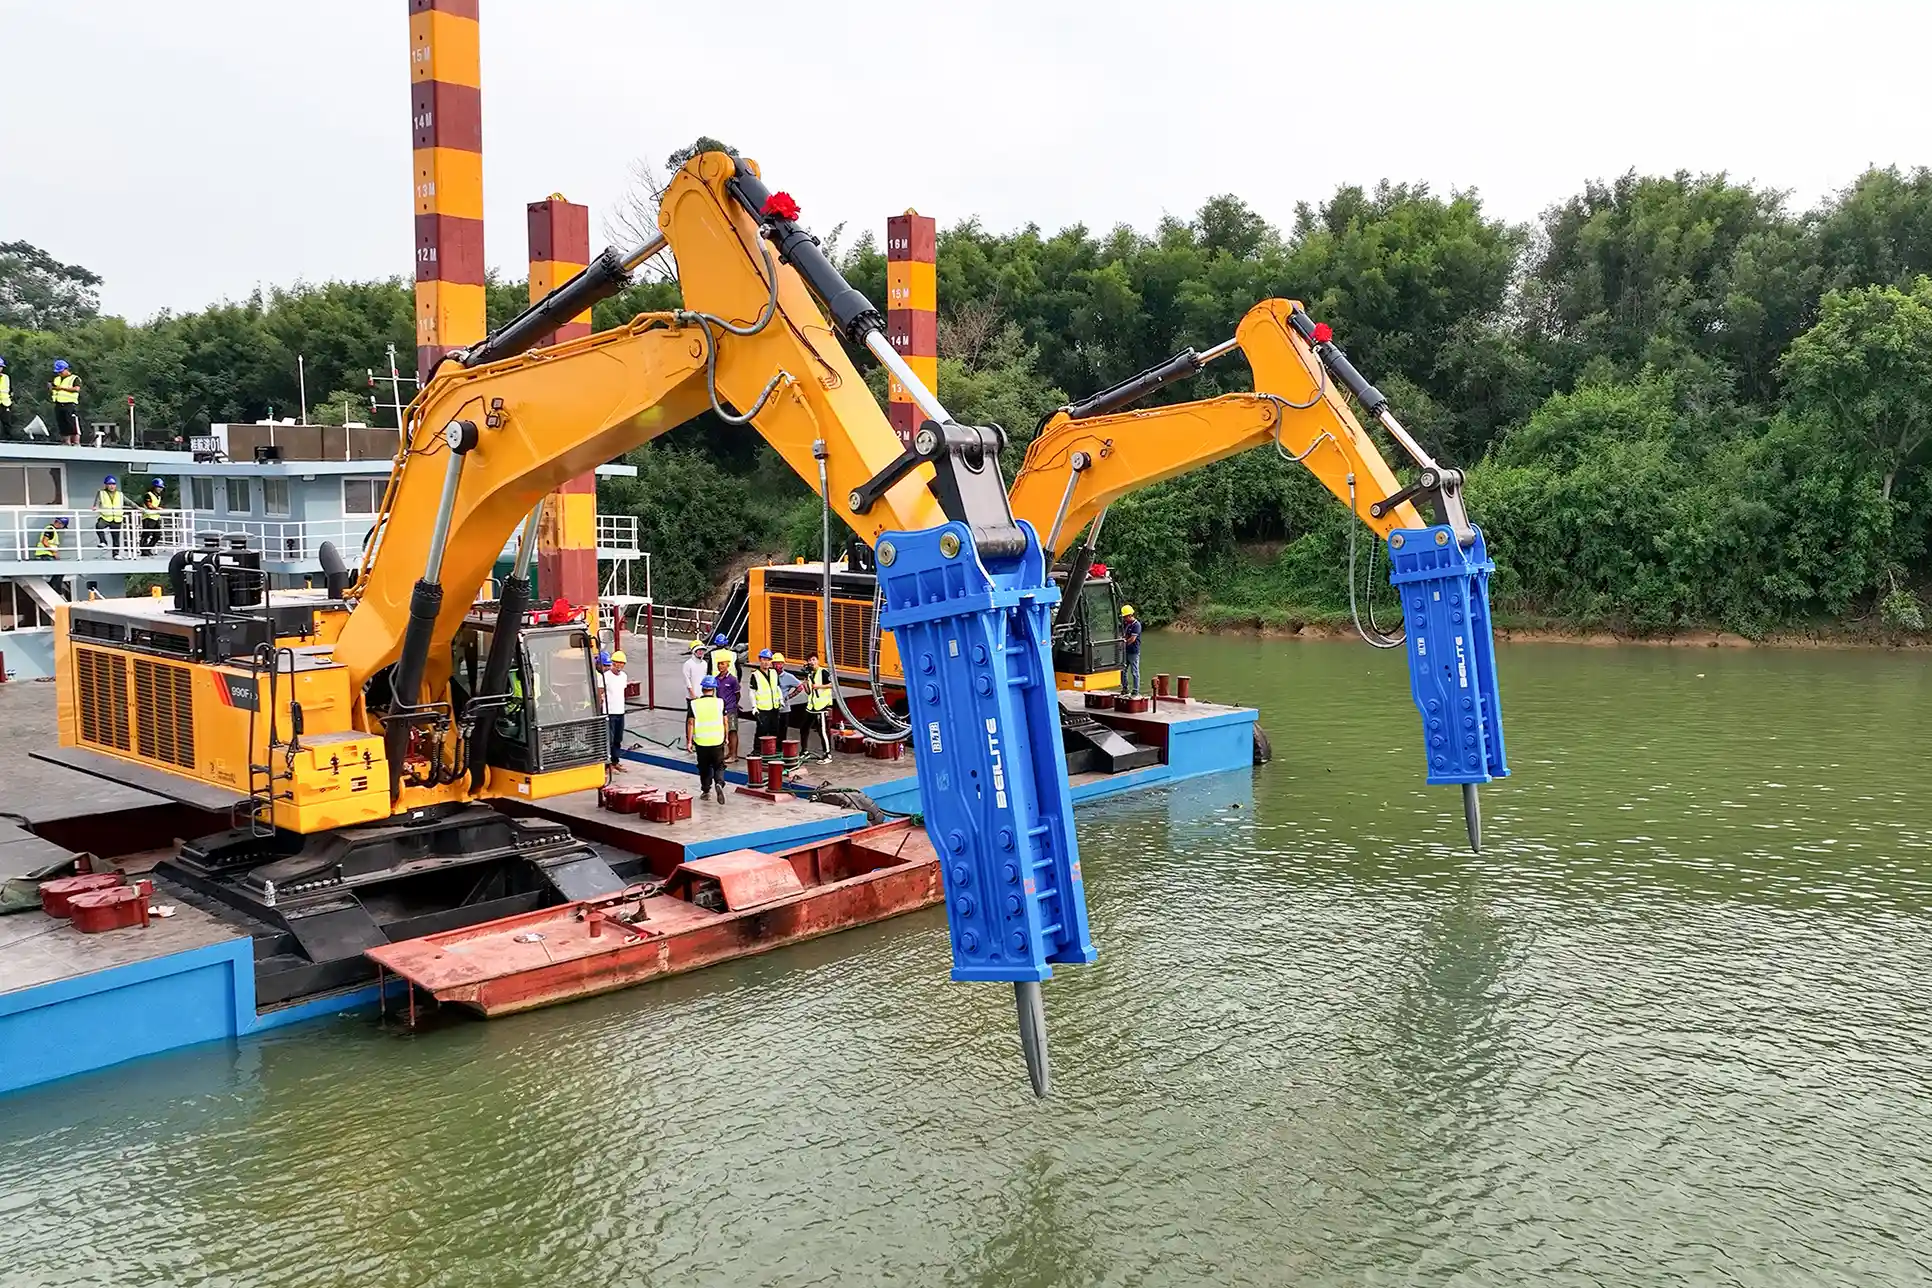
BLT and BLTB brand products ship to over 100 countries. The engineering approach emphasizes performance across varied working conditions, from standard demolition to specialized applications requiring underwater operation or extreme durability.
Contact BEILITE
For technical consultation on hydraulic breaker selection and installation support, reach BEILITE at [email protected] or 40008-40008. The engineering team can address specific application requirements and recommend configurations matched to your carrier and operating conditions.
Frequently Asked Questions About Hydraulic Breaker Installation and Maintenance
What hydraulic oil works best for breaker performance?
Anti-wear hydraulic oil meeting ISO VG 46 or 68 viscosity specifications handles most operating conditions. The oil’s anti-wear additives protect internal valve surfaces and seals from degradation under the rapid pressure cycling that hydraulic breakers generate. Your BEILITE breaker manual lists specific recommendations, and deviating from these specifications risks reduced efficiency and accelerated component wear.
How frequently does a hydraulic breaker need service?
Daily tool bit lubrication is non-negotiable. Monthly or bi-weekly checks should cover hydraulic connections, nitrogen pressure, and general wear patterns. Full service with seal replacement and internal inspection happens annually or at the operating hour intervals specified in the BEILITE maintenance guide. Skipping these intervals doesn’t save money. It shifts costs to more expensive repairs later.
Should installation be handled by a professional?
Operators with solid hydraulic system knowledge and heavy equipment experience can handle installation, but the margin for error is narrow. Incorrect hydraulic connections damage internal components. Improper pressure settings accelerate wear. Pin connections that seem secure but allow play create safety hazards. Professional installation ensures correct system integration and maintains warranty coverage. BEILITE provides detailed installation documentation, though complex carrier configurations or unfamiliar equipment often justify professional assistance.