 Anglais
 Français
Remplacement de la douille avant : Guide d'entretien du brise-roche hydraulique
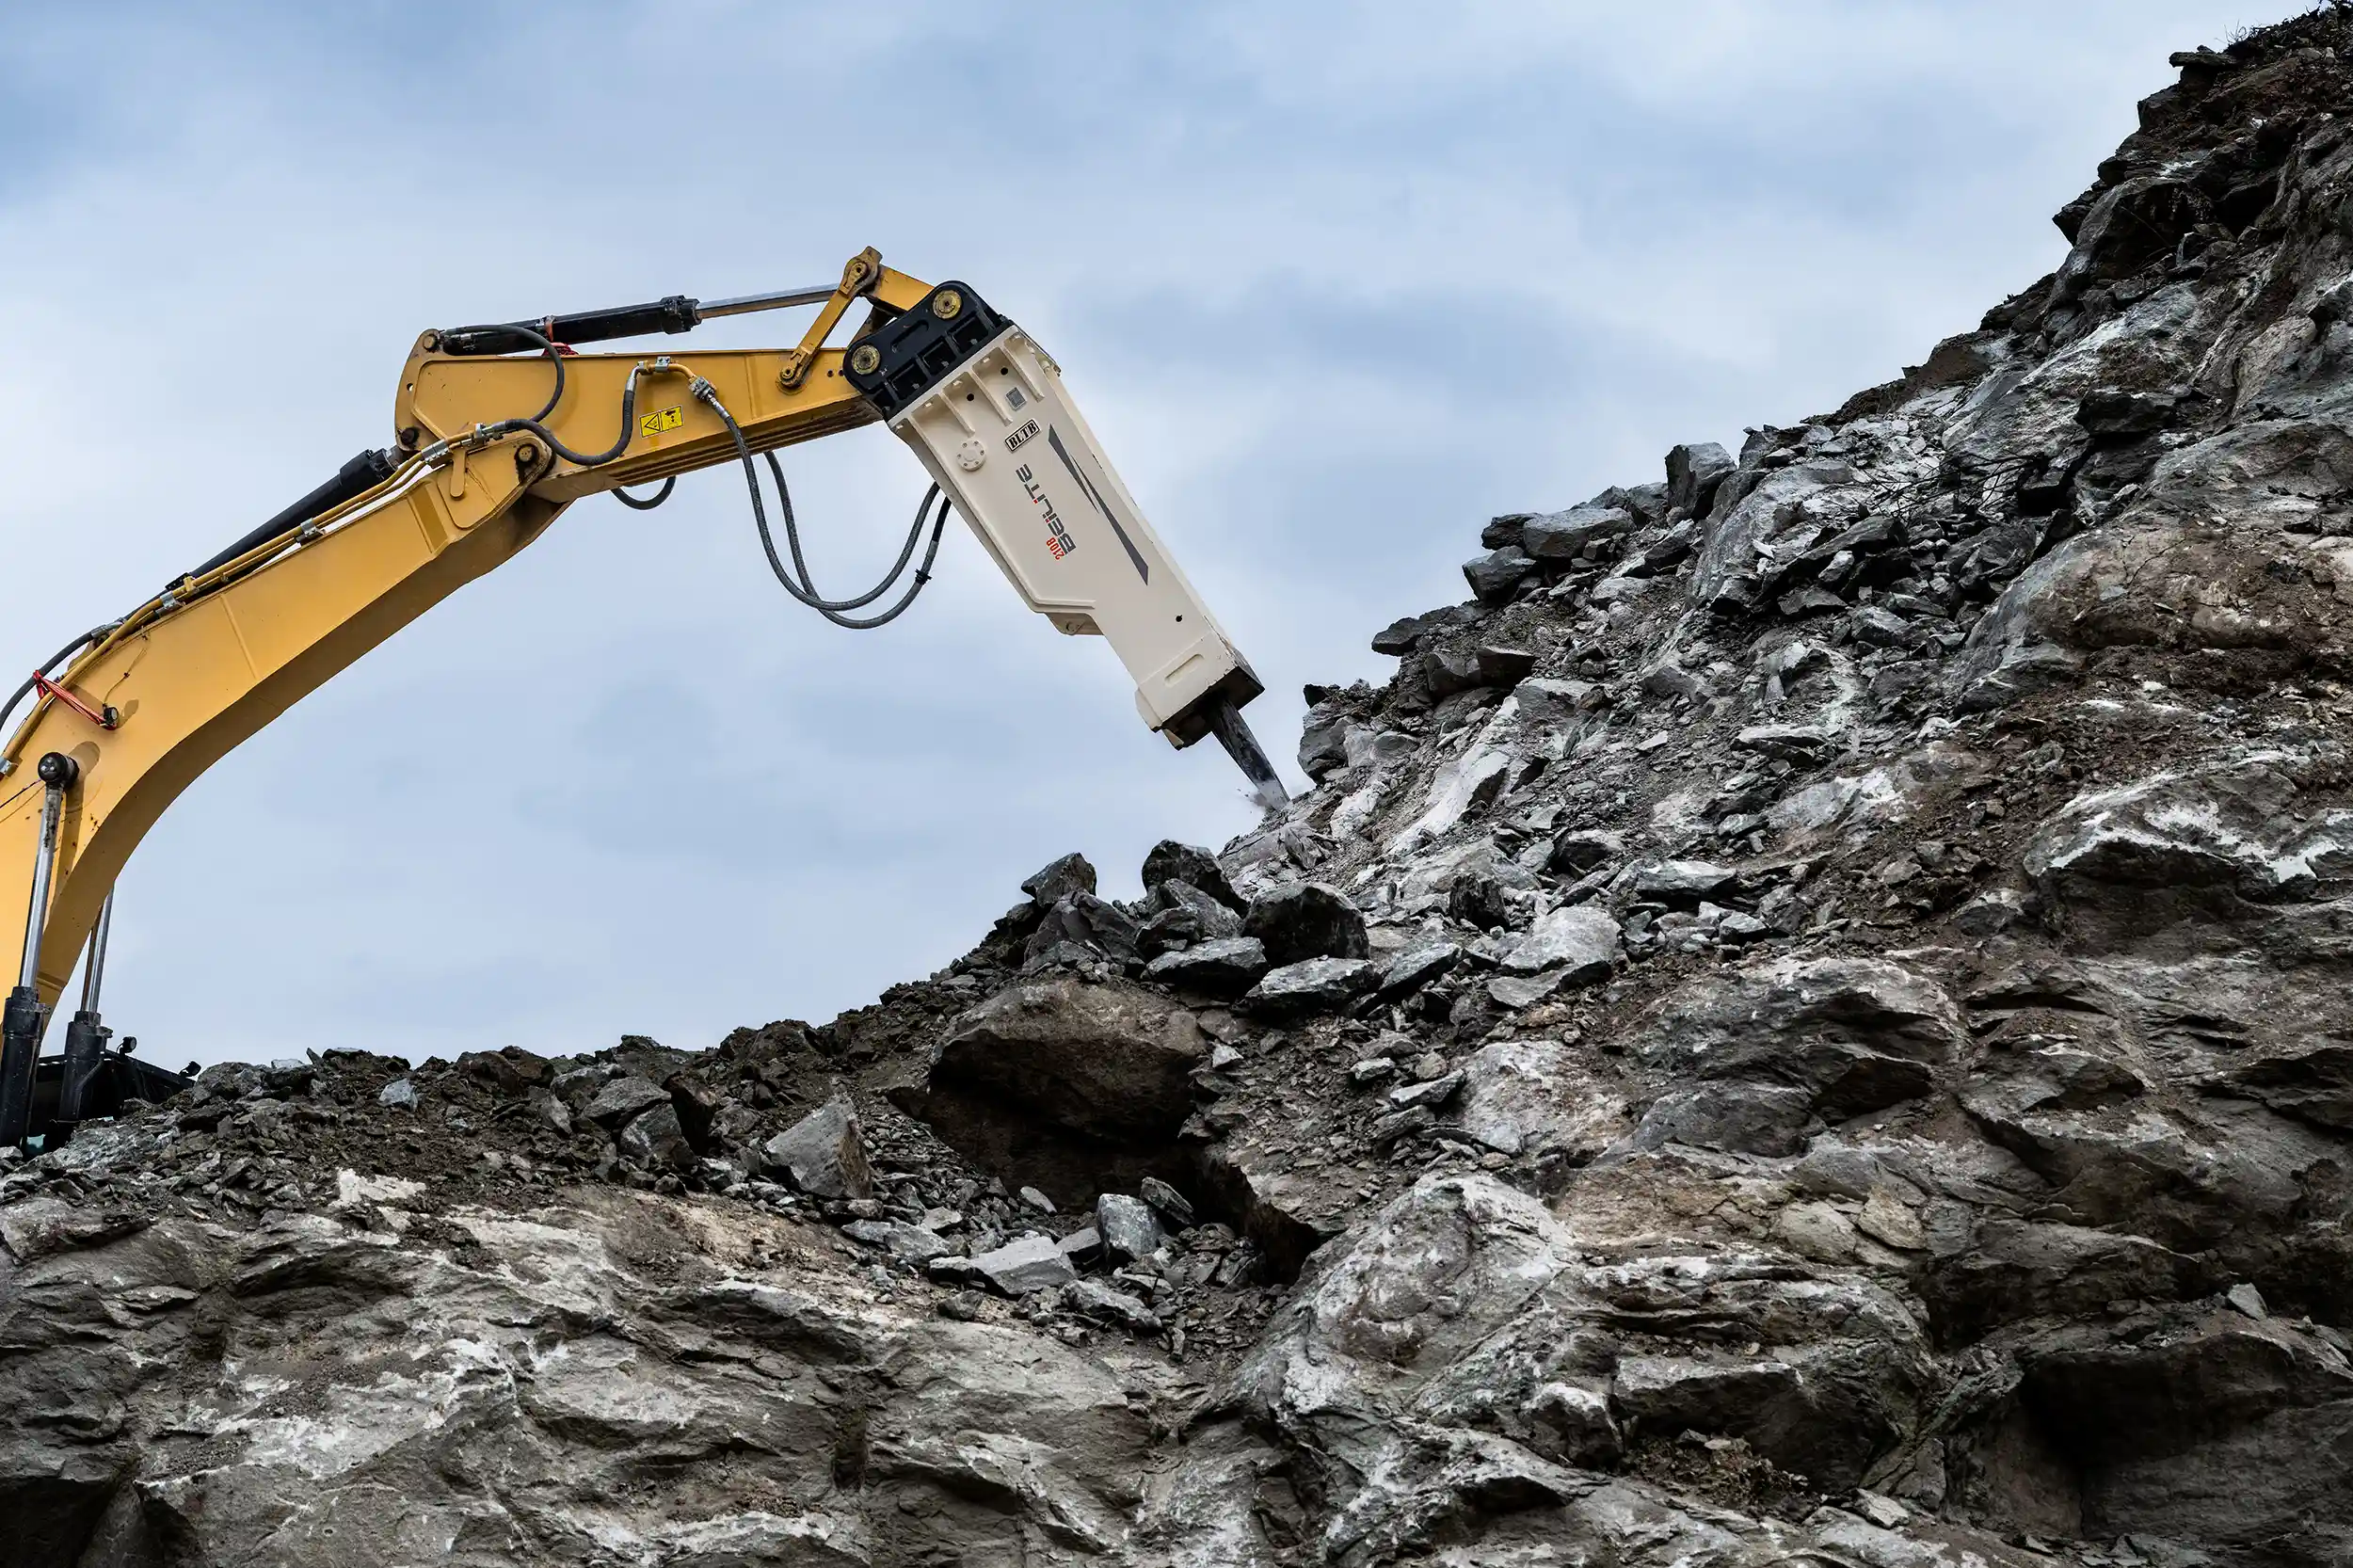
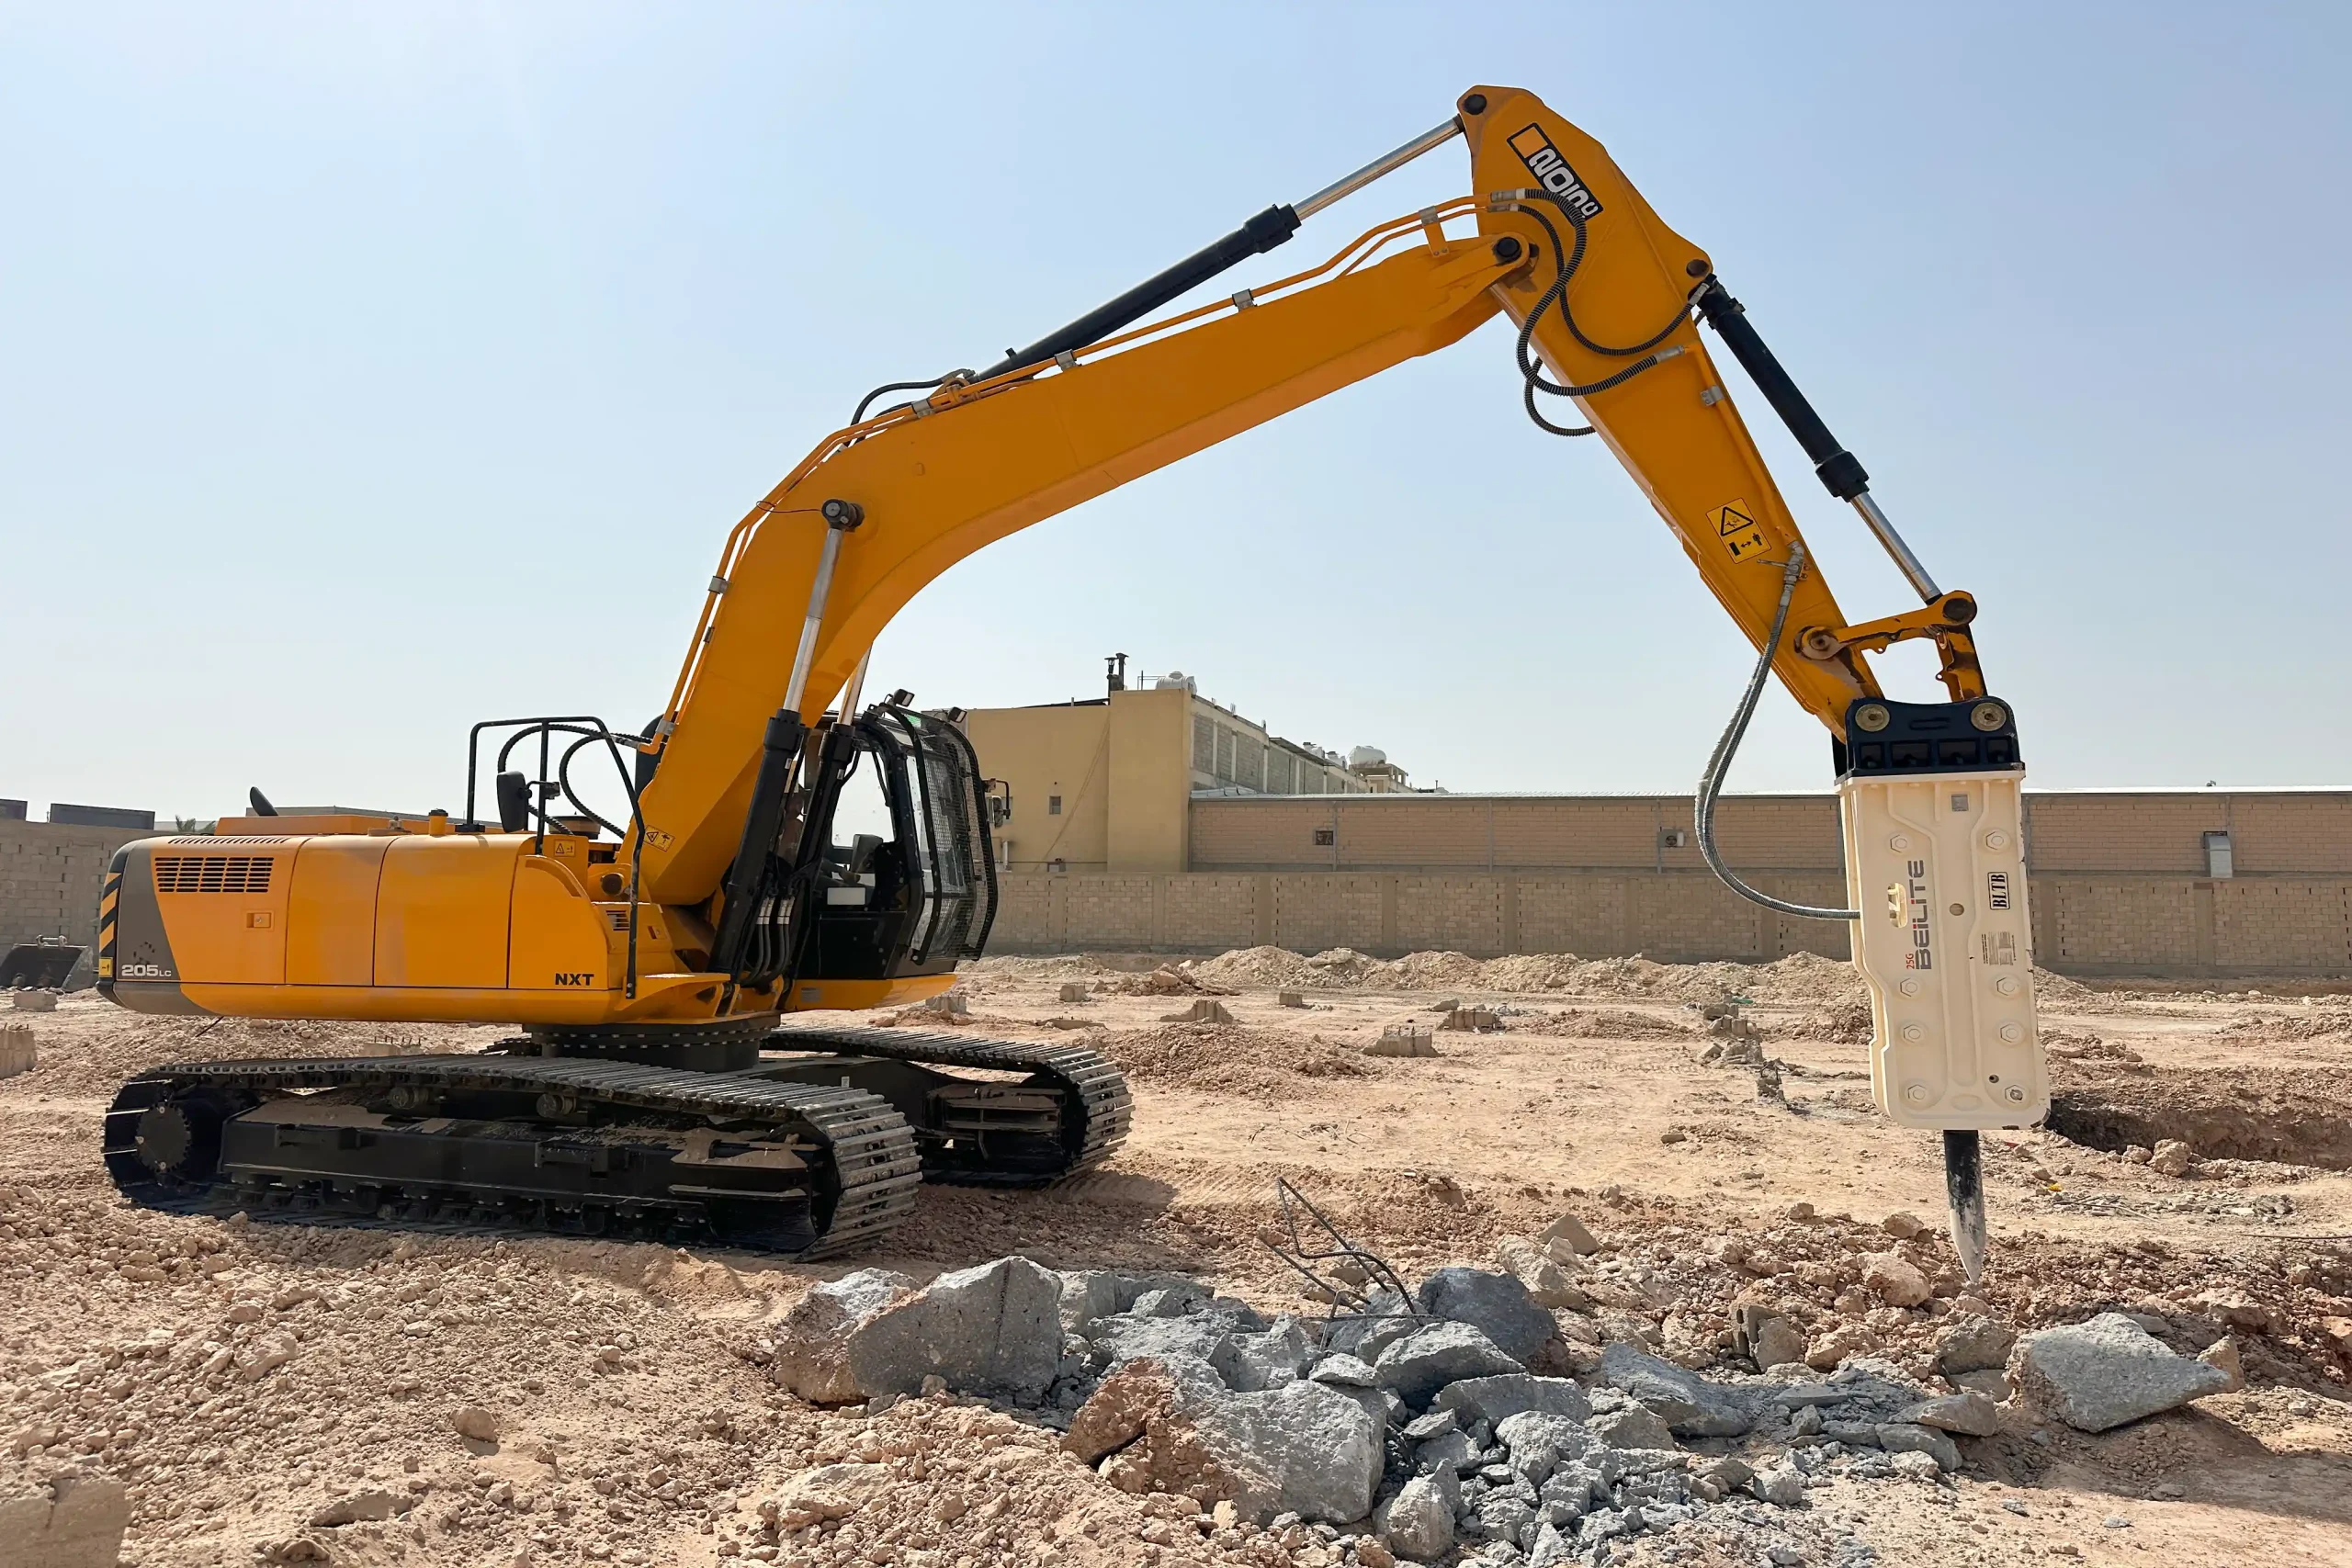
The front bush takes more abuse than most people realize. It’s the primary wear point between the tool and the housing, absorbing every impact cycle while keeping the chisel aligned. When it starts to go, you feel it before you see it — that slight wobble in the tool, the drop in breaking force, the way the whole unit seems to work harder for less result. Replacing it isn’t complicated, but doing it right matters. A sloppy installation creates problems that show up weeks later, usually at the worst possible time.
Why the Front Bush Fails First
The front bush sits at the business end of the hydraulic breaker, guiding the tool through thousands of impact cycles per hour. Metal-to-metal contact, debris intrusion, and the constant shock loading all contribute to gradual wear. Once the bush loses its tight tolerance, the tool develops play. That play translates into lateral forces the breaker wasn’t designed to handle.
The cascade effect is predictable. A worn front bush allows the tool to deflect slightly with each strike. This deflection hammers the tool pin from angles it shouldn’t experience, accelerating wear on that component. The piston, which relies on precise alignment to transfer energy efficiently, starts losing impact force to friction and misalignment. What began as a $200 part replacement can become a $2,000 repair if ignored long enough.
Beilite’s engineering team has tracked failure patterns across thousands of units. The data consistently shows that breakers maintained on schedule — with front bush replacement at the first signs of wear — last 40% longer than those run until obvious failure. The math favors prevention.

Getting Ready for the Job
Preparation determines whether this takes an hour or half a day. The front bush replacement itself is straightforward, but shortcuts during setup create problems during installation.
Start with the service manual for your specific model. Breaker designs vary enough that assumptions about one unit don’t always apply to another. Torque specifications, bush orientation, and removal sequences differ between models. The manual also identifies any special tools required for your particular configuration.
Genuine parts matter here. Aftermarket bushings often use softer alloys or slightly different tolerances. They might fit, but they won’t last. The front bush operates under extreme conditions — high impact loads, abrasive contamination, and minimal lubrication intervals. Material quality directly determines service life.
| Objet | Objectif | Notes |
|---|---|---|
| Hydraulic Breaker Stand | Secure positioning | Must support full weight without movement |
| Socket Wrench Set | Fastener removal | Metric and standard sizes |
| Torque Wrench | Precise tightening | Calibrated within last 12 months |
| Bushing Driver | Installation and removal | Sized for your specific bush |
| Cleaning Supplies | Debris removal | Lint-free cloths, solvent |
| High-Temperature Grease | Lubrification | Hydraulic breaker specification |
| Genuine Front Bush | Replacement part | Model-specific |
| PPE | Personal protection | Safety glasses, gloves, hard hat |
Safety isn’t optional. Hydraulic breakers are heavy, and the components under tension can move unexpectedly. Secure the unit on a proper stand before starting. Cap all hydraulic lines immediately after disconnection to prevent contamination. Hydraulic fluid contamination causes more breaker failures than mechanical wear.
Recognizing When Replacement Is Due
The signs are consistent across most hydraulic breaker models. Excessive tool play is the most obvious indicator — if you can move the chisel laterally by hand, the bush is worn beyond acceptable limits. Reduced impact force often accompanies this, though operators sometimes attribute the power loss to other causes before checking the bush.
Listen during operation. A worn front bush creates a distinctive metallic rattle that differs from normal operating sounds. The tool is essentially bouncing inside the housing rather than tracking smoothly. Visual inspection confirms what the symptoms suggest: scoring on the bush surface, visible material loss, or cracks in the bearing surface.
Maintenance schedules provide baseline intervals, but operating conditions vary. Breakers working in abrasive environments — quarries, demolition sites with concrete dust — wear front bushes faster than those in cleaner applications. Adjust inspection frequency based on actual conditions.
The Replacement Procedure
This sequence applies to most hydraulic breaker configurations, though specific steps may vary by model. Consult your service manual for any deviations.
1. Secure the breaker. Position it on a stable stand with the tool pointing down or horizontal, depending on your work setup. The unit must not be able to shift during the procedure.
2. Disconnect hydraulic lines. Cap both the lines and the ports immediately. Even small amounts of contamination cause problems in hydraulic systems.
3. Remove the working tool. Extract the chisel, moil point, or whatever tool is installed. Set it aside on a clean surface.
4. Drive out the tool pin. This pin retains both the tool and the front bush. Note its orientation before removal — some pins are directional.
5. Inspect the tool holder. While access is available, check for wear or damage. Replacing the bush into a damaged holder wastes the new part.
6. Extract the worn bush. Use the appropriate bushing driver or extraction tool. Avoid prying against machined surfaces. The bush should come out with steady, even pressure.
7. Clean everything. Remove all old grease, debris, and contamination from the housing. Inspect the bore for scoring or damage. Any irregularities here will accelerate wear on the new bush.
8. Lubricate the new bush. Apply high-temperature grease to the outer surface. This aids installation and provides initial lubrication.
9. Install the new bush. Align it correctly — orientation matters on most designs. Use the bushing driver to press it evenly into the housing. Uneven seating causes premature failure.
10. Reinstall the tool pin. Ensure proper alignment with the bush and tool. The pin should slide in without excessive force if everything is positioned correctly.
11. Reinsert the working tool. Check that it moves freely without binding.
12. Reconnect hydraulic lines. Verify all connections are tight and properly seated.
13. Torque all fasteners. Use the specifications from your service manual. Under-torqued fasteners loosen during operation; over-torqued fasteners can damage threads or distort components.
What Happens When You Skip This Maintenance
The progression is predictable. A worn front bush allows increasing tool deflection. That deflection accelerates wear on the tool pin, which then develops its own play. The combined looseness hammers the tool holder, eventually damaging that component as well.
Meanwhile, the piston continues delivering impact energy, but less of it reaches the work surface. More energy converts to heat and friction within the breaker. Hydraulic fluid temperature rises. Seals degrade faster. The entire system works harder to accomplish less.
The endpoint varies. Sometimes the tool pin shears, dropping the chisel unexpectedly. Sometimes the accumulated wear finally damages the piston or cylinder. Either way, the repair cost multiplies well beyond what the original front bush replacement would have required.
After Installation
Verification takes less time than troubleshooting a problem later. Start with a visual check — confirm all components are in place and fasteners are torqued. Look for anything that seems misaligned or improperly seated.
Run the breaker at reduced power initially. Listen for abnormal sounds. Watch for vibration patterns that differ from normal operation. Check all hydraulic connections for leaks. Gradually increase power while monitoring performance.
Establish a lubrication schedule for the new bush. High-temperature grease designed for hydraulic breaker applications provides the best protection. Standard chassis grease lacks the adhesion and pressure resistance these components require. Apply grease at the intervals specified in your service manual, adjusting for operating conditions.
Document the replacement. Record the date, operating hours at replacement, and any observations about the condition of the removed bush. This data helps predict future replacement intervals and identifies if wear is occurring faster than expected.
Professional Service Versus Self-Repair
The procedure is within reach for experienced mechanics with proper tools. The question is whether the time investment makes sense for your operation.
Shops with multiple breakers and dedicated maintenance staff often handle front bush replacement in-house. The familiarity with the equipment and immediate availability of the work justify the capability. Single-unit operators or those without hydraulic experience face a different calculation.
Improper installation creates problems that aren’t immediately obvious. A bush seated slightly crooked will wear unevenly, failing earlier than expected. Contamination introduced during the procedure can damage seals and valves throughout the hydraulic system. These issues might not surface for weeks, making the connection to the earlier work less apparent.
Beilite maintains a service network with technicians trained specifically on BLT and BLTB breakers. For operations without in-house capability, professional service ensures the work is done correctly while preserving warranty coverage.
Questions fréquemment posées sur l'entretien des brise-roches hydrauliques
How do I know if my hydraulic breaker’s front bush needs replacement?
The most reliable indicator is lateral play in the tool. If you can move the chisel side to side by hand, the bush has worn beyond tolerance. Reduced impact force and a metallic rattling sound during operation also suggest excessive wear. Visual inspection may reveal scoring, cracks, or obvious material loss on the bush surface. Regular inspection at maintenance intervals catches wear before it causes secondary damage.
What are the risks of not replacing a worn front bush?
A worn front bush allows the tool to deflect during impact cycles, which accelerates wear on the tool pin, tool holder, and eventually the piston. The breaker loses efficiency, requiring more time and fuel to complete the same work. Heat buildup from increased friction degrades hydraulic fluid and seals. In severe cases, the tool pin can shear or the accumulated damage can cause sudden equipment failure. The repair cost escalates significantly compared to timely bush replacement.
Can I replace the front bush myself, or do I need a professional?
Experienced mechanics with the correct tools and service manual can perform the replacement successfully. The procedure requires a bushing driver sized for your specific model, a calibrated torque wrench, and proper equipment to secure the breaker during work. If you lack these tools or haven’t worked on hydraulic equipment before, professional service is the safer choice. Improper installation can cause premature failure and may void warranty coverage.
What type of lubrication is recommended after front bush replacement?
Use grease specifically formulated for hydraulic breaker applications. These products have high-temperature stability, excellent adhesion to metal surfaces, and extreme pressure additives that standard grease lacks. The front bush operates under severe conditions that quickly break down conventional lubricants. Your service manual specifies the recommended grease type and application intervals for your particular model.
How does Beilite ensure the quality of its hydraulic breaker wear parts?
Beilite manufactures front bushes and other wear components using controlled alloy compositions and precision machining processes. Each part undergoes dimensional verification and material testing before release. The company’s R&D program continuously evaluates field performance data to refine material specifications and manufacturing tolerances. This approach has established BLT and BLTB components as reference standards for hydraulic breaker reliability.
Keeping Your Equipment Productive
The front bush is a wear item by design. It sacrifices itself to protect more expensive components. Replacing it on schedule costs far less than repairing the damage that results from neglect. Genuine parts, proper installation technique, and consistent lubrication maximize the interval between replacements.
For parts, service information, or technical support on BLT and BLTB hydraulic breakers, contact Beilite Machinery at 40008-40008 or [email protected].